How use Gimp edit photos
How use Gimp edit photos
How use Gimp edit photos
How to use Gimp to edit photos
What to adjust ?
Simple adjustments are: crop pictures (remove unwanted parts of the pictures), add contrast to flat looking pictures, sharpen photos which are not sharp enough, adjust levels if the pic is too dark or too light. The problem is more often is that the photo is too light which makes it looking not sharp.
Even very low quality picture can be a little better using post processing techniques described below.
[do_widget Text]
Gimp
To editing photos can be seen this website I use Gimp software. The alternatives are Photoshop or Lightroom and many other programs. The Gimp is an open source, free image editing tool available for Windows and Linux as well. Unfortunately Gimp is not an easy to use software, need some time to understand how is it works. Perhaps the functions discussed below is too obvious for some, I include them perhaps someone cannot figure out himself/herself. Hope this helps for some just basic functions.
How to download and install Gimp ?
Windows:
Put in the google window: download Gimp for Windows choose your language and press enters for the question after download run gimp ? – free, if you very insecure use the official website: gimp.org/windows
Ubuntu linux: Package manager does the whole thing just type Gimp and press enters
How to open a picture ?
1. Right click on the picture and choose open with Gimp
2. Open Gimp from the left File-menu choose open
How to save a picture ?
At first the question seem stupid, but some Gimp version saves the image at their own Gimp format at default. If we want jpg format we use export and we change the end of the file to jpg manually at the opened window.
View options
In view options we can choose magnification if we want to see the picture in big size we use bigger magnification if we want to see in smaller size for example we want to crop in smaller size. View menu – Zoom – we can set the size we want. If I work on a detail I use maginified view 200-400%, if I crop use smaller format 25%-50%, all depends on picture size.
Undo – redo
In Edit menu we have an undo redo option for several steps. If we make a mistake, just go to Edit undo, and no problem, or redo if I change my mind. Sometimes the last command is in the process and must use unselect function to start a new command. It can be done by go to Select menu – None.
[do_widget Text]
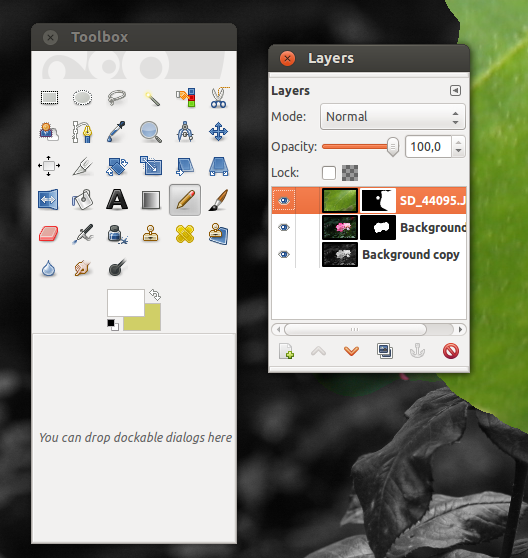
Dockable dialogs
Sometimes dialogs can vanish in the air. Best to work with tools palette for quick access. You can find the dialogs if you miss them at Windows menu – dockable dialogs.
Basic functions
Draw functions
There is a brush and the pencil. The difference between the two that the pencil has a definite border, while the brush is different at the side areas. There are many different patterns for the brush. If you double click on the brush or pencil a new dialog is opens where you can change the thickness of the tool at scale. Bigger thickness helps to finish the job quickly. If there are very fine details, we can use thinner settings.
Resize pictures
After opening the picture from the 5th menu (Picture) we choose the 8th function – Picture resize, the two upper tab shows the size of the picture. If we want to keep proportion we make sure that the two tab is connected at the right side of them. After we can write our preferred number for example at width the height going to be automatically adjusted, when we click on the bottom right button. If we don’t want to keep proportion we not connect the two cells.
Crop pictures:
How to crop a picture ? We choose Tools-Transfrom tools-Crop after we appoint the area by the mouse and press enter. Almost all commands can be undone or redone with lots of steps at Edit (second menu) one and two tabs.
Curves:
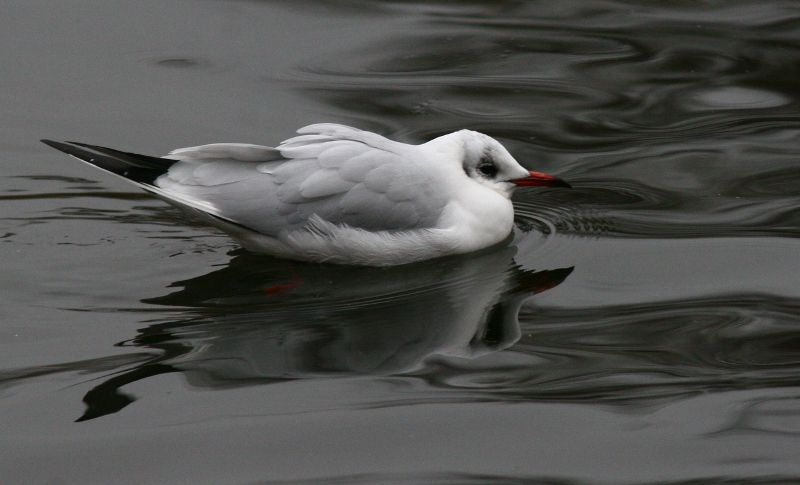
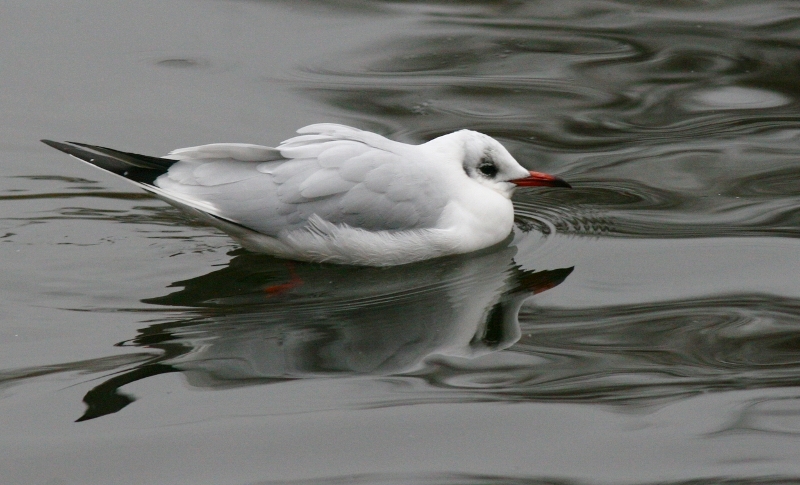
Perhaps this is scientific for some but the thing is not complicated. I will show an example. Curves is used when we find that our picture is not correctly exposed: too dark or too bright, or we prefer differently. The below picture I found too dark.
The curves function can be found at the Colours menu under curves, it needed some times after clicking the curves to appear even on good computers, don’t click twice, if you are sure you clicked already, because perahps you can restart your computer. If you succeed see something like this:
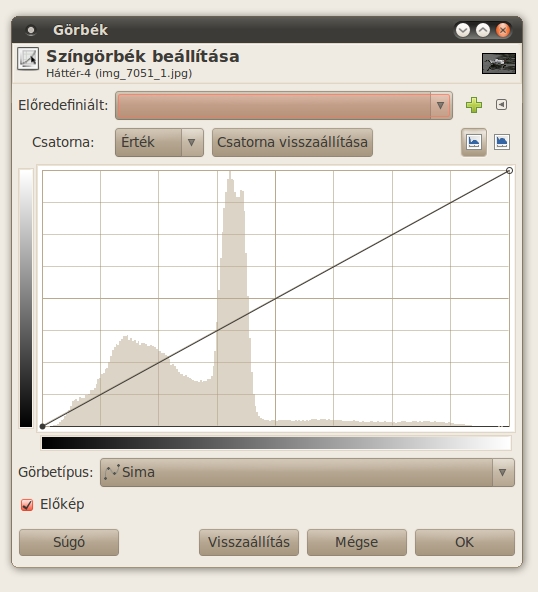
This is like a map of our image’s pixel by their brightness: the left side are the darkest pixels, the right side are the lightest pixels, don’t panic the thing is much more easy than you expected. What are we doing here ? First we opened the picture in file menu after this we opened in Colours menu. We want to change our dark image to be a little bit lighter, for this we grab a middle point at the straight line through the table and lift a bit. If we want the picture darker we lower the line a bit. The other parts of the line going to be curved, it is good that way. When I lift the line a bit I see this:
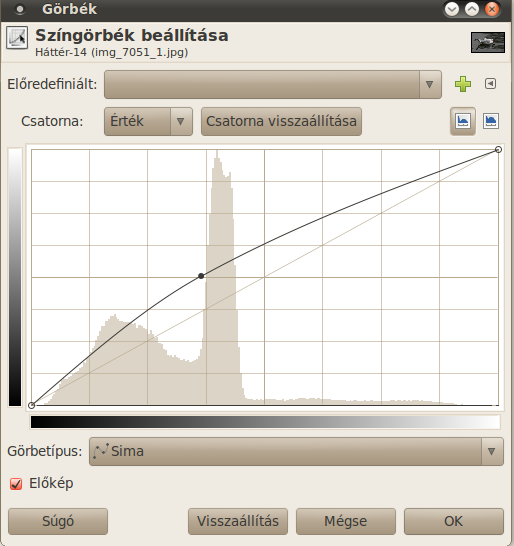
And the picture going to be like this, a little brighter than before:
Try to experiment with this, if you lower the straight line the pictures going to be darker, if you lift lighter. Don’t move too much because the result going to be ugly.This tool can helps a lot with little overexposed and not burnt out (too bright) pictures to become more contrasty, or too dark pictures to be little brighter.
Adjusting contrast:
We can adjust contrast with Colours-Brightness-Contrast and the below slide we move rightwards enhance contrast levels if we move leftward the contrast going to be less. Don’t forget to save after modification.
Adjusting sharpness:
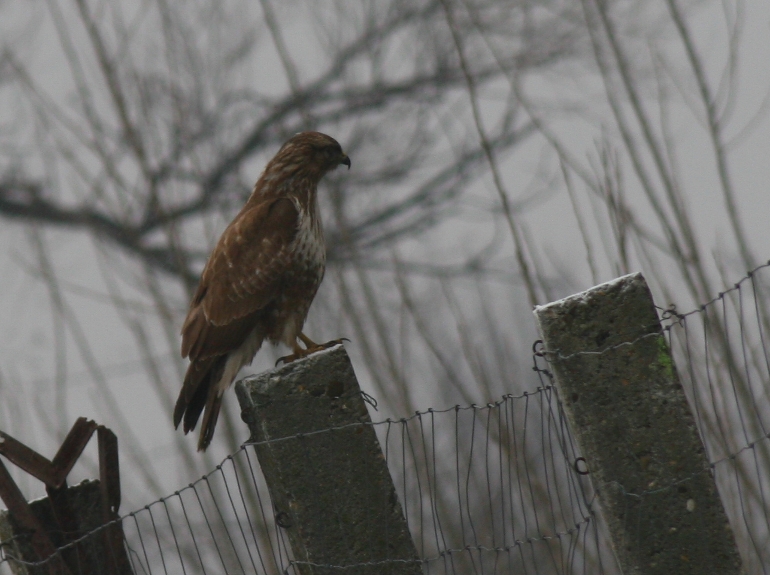
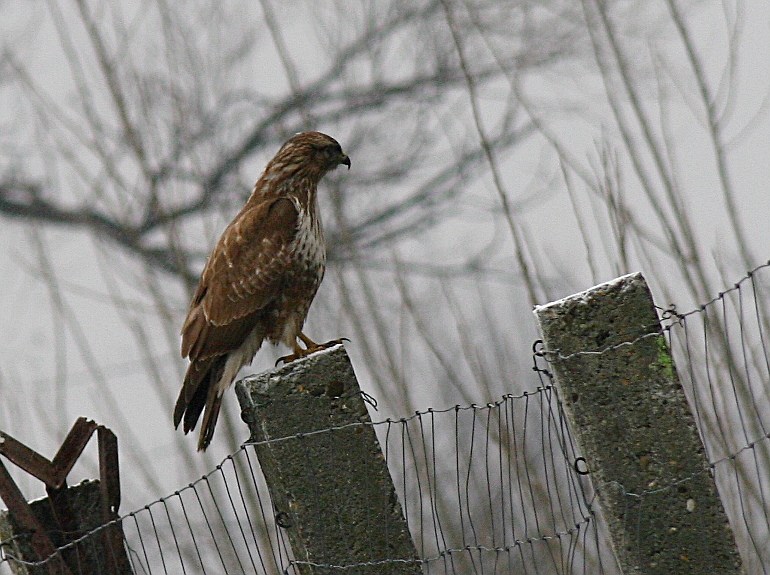
What have I done with the photo? I open curves and makes the pic more light, add a little contrast, sharpen, and use unsharp mask as well.
This doesn’t make the same thing that a sharp lens does, but can help in certain situations. Especially with small pictures sharpening can helps. There are two ways of sharpening: normal sharpening, unsharp mask. It can be found under filters-enhance-sharpen or unsharp mask. The name is not really shows what unsharp mask do, this is actually sharpen the picture, despite the name. The results are immediately visible on the screen. Needs experimenting how much sharpening helps, too much perhaps ruins the picture. For a blurred pictures not much things we can do. Unsharp mask perhaps helps to get a little more contrast but not sharpness.
Adjusting saturation:
Saturation can be boosted at Colours second sub menu out of the three slides the most lower one is the saturation. If our picture has dull colours this can helps.
Layers
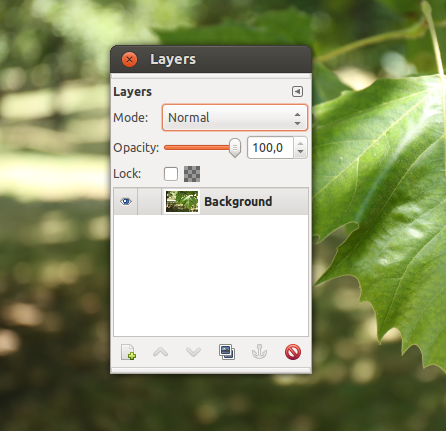
What is the layers good for? First you can see layers dialog by clicking Ctrl+L. Normally you only see one layer if you only open one picture. If you want to open more pictures as layers you go to File menu – Open as layers and after choose a picture to open. With layers we can create HDR images, makes pictures with only one color before a black and white background or make two images together, while we can set one of the pictures little opacity to make more artistic and many other purposes.
Layer mask
One of the coolest function of such programs. Layer mask is good for example make HDR images or blend more images. We make several pictures usually 2 or 3 on a tripod about the same scene with different exposures (one dark, one light and one normal picture). Each different light level picture will be an a separate layer.
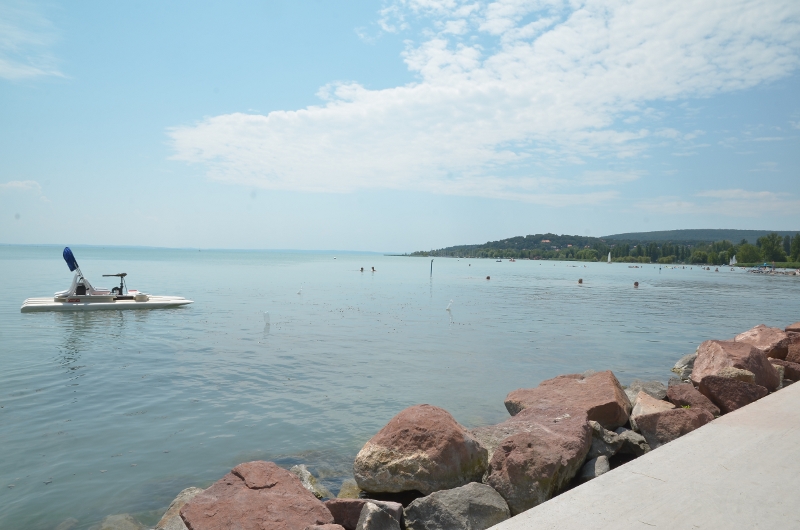
Here is a picture example. I want the sky to be darker, to be more pronounced. It is an example you can make it more bright as well.
First what I do is open layers dialog by Ctrl+L combination. Because the sky has not burnt out I can use it as a template. What I do click duplicate layers. This makes two similar photo with the same image on separate layers. I go on a layer called background right click on it and from the menu I choose duplicate layer.
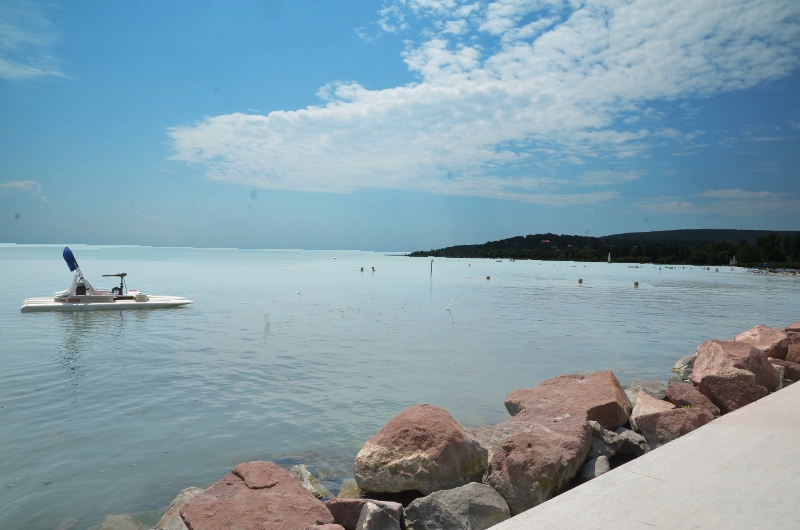
Then I go colors – curves and get the middle of the curve and drag downwards a bit until I like the result. By clicking on the eye at the left side of the dialog I can switch of each layers separately. The bottom is the darker, but I only can see if I switch off the top layer.
After I switch both layers on and apply a black layer mask by right clicking on the layer box on the top layer. Now the top layer is transparent. The part I want to show I paint with white using the pencil tool from the main toolbox. I paint the foreground to be lighter.

This is how it looks in the beginning of the process. One more thing I do I can scale the tools in this case the pencil by double clicking on them. I scale the tool to be bigger to be more effective. If your picture is very big, perhaps the tool just looks as a dot. After I paint with the pencil the whole area under the horizont.
Obviously the hardest is the transition zone, how to choose the border between the two layers.