Photography for beginners
Photography for beginners
See the tips and tutorials at the bottom of the page.
Photography for absolute beginners
If you never used a camera perhaps the information below can help. If you are not an absolute beginner you can start reading little more downwards as you see which material interests you.
Equipment
For photography you need some kind of equipment. If your budget allows the best is a Canon or Nikon Dslr camera with a good lens according to my opinion. Why? You can have the best quality equipment at a lowest price. This doesn’t mean it is true for every product. But you have much more product to choose from including cheaper third party products, and used equipment as well. Most people use Canon, Nikon is the second. I suggest to invest more in lenses, than cameras. Even the cheapest Dslr today is good enough, and will cost half in a year or two. On the other hand lenses won’t be cheaper, they are more expensive every year. Some discontinued lenses has a price several times more than before they were fabricated.
Batteries
For compact cameras I prefer AA standard batteries or Akkus because it is much easier to get and usually much cheaper than brand made special batteries. I bought a camera with a special battery once and I lost the also special charger. It takes lot of time and money the get it, because the camera was no longer in production.
For Dslr cameras I like batteries which is more common in order to possibly use in a new model as well if it is possible.
Memory cards
Today most point and shoot cameras use sd sdhc or sdxc cards. It is important to check compatibility, becuase older card not necessarily works with the newest cameras. There are other types of memory cards available as well, Sony has his own Memory stick, the CF cards are more used in older Dslr cameras, still used in higher end models. The bigger CF card is better for longer usage according to my experience, because smaller Sd cards easily can be damaged.
Compact or point and shoot cameras
Compact or point and shoot cameras can usually do everythink automatically. You just need to insert the charged battery, the memory card, point on a subject, wait for the autofocus to find the subject and shoot. Not all of the compact cameras has manual modes explained below. Most compact cameras with long lenses (bridge cameras) has some manual modes as well, where you can control the settings.
Focusing
When you make a portrait for example you must point the camera on the person push the shutter release button at half and wait for the camera to focus, just after release the button totally. For landscapes usually focus in the far point if you use the point and shoot camera. You can check on the LCD or in the viewfinder if focusing is correct or not.
___________________________________________________
Photography for beginners
Photography basics – Photography for beginners
The very basics of photography is the following: understanding aperture, shutter speed, ISO and exposure. If you use a Dslr camera to understand this is absolutely essential, if you use a compact camera, perhaps not so vital, but still helps to understand what happens inside your camera. Most people today use digital camera, so what I write here is mostly considering digital cameras, but more or less the same for film cameras as well.
The process of making a photo – Photography for beginners
So simplify what happens when we make a photo. The light enters the camera through the lens and hit the image sensor. The image sensor makes a digital image from the light enters the camera. The two most important element in this process is the lens and the camera sensor. These two defines the quality of the pictures you can possibly make. If our lens is not good simply no sensor can make a wonderful photo. On the other hand if the camera sensor is low quality, you can put the best lens on it without any spectacular results.
Aperture – Photography for beginners
The aperture is the hole on the lens. Normally it can be adjusted by the lens diaphragm, which controls how much light can enter to the sensor.

The above pictures show the same lens with different apertures. We spoke about big apertures when the whole is big, small apertures when the hole is small. There are numbers also associated with aperture, the usual row look like this: f/1,f/1.4,f/2,f/2.8,f/4,f/5.6,f/8,f/11,f/16,f/22. The numbers can be misleading the smaller number after the / sign shows bigger aperture. f/1 is the biggest aperture, f/22 is the smallest. There are even bigger apertures like f/0.95. You can adjust aperture on your Dslr camera simply turning the dial under the shutter release button. It is important that the camera set on A or Av (top left dial) aperture priority mode, here we can adjust aperture. Aperture does two things:
1. Control the light quantity to the sensor. Between two number in the above row the difference is half quantity light, which means half shutter speed. So if we stop down the lens from f/4 to f/5.6 (makes the hole smaller) we have half quantity of light and half shutter speed. On the other way is oppositely we have double shutter speed from f/5.6 to f/4, and double quantity of light.
2. Control depth of field (usually called DOF).
What is the depth of field? The depth of field shows how many parts of the picture is in focus. The out of focus areas usually called OOF are blurred, which is good for example for artistic portraits. For landscapes or macro bigger depth of filed is preferred.
The depth of field is more when we use smaller apertures (f/11-f/22), and the depth of filed is less when we use bigger apertures(f/1 – f/2.8). Longer lenses has less depth of field, wider lenses has more depth of field.
Shutter speed – Photography for beginners
The shutter speed is the time when the camera actually makes a photo. This is usually is the fraction of the second. The usual range for shutter speed is between 30-1/8000s. Generally for sharper photos you need higher shutter speed. With wider lenses less shutter speed needed, for longer lenses higher shutter speed, especially if you want to make a sharp photo of the distant object. There is a rule of thumb for shutter speed which tells you need 1/focal length shutter speed for the full frame camera. This means for 10mm lens you need 1/10s, for 400mm focal length you need 1/400s, If you use a crop sensor camera you need 1/focal length*1.6s. It means for 400mm focal length you need 1/400*1.6=1/640s for 100mm you need 1/160s. In most cases shutter speed of 1/2000s in enough for most cases, even if we make actions shots of fast moving birds or animals. This is just a general rule, the actual reality depend on how shaky your hands are, so better to experiment which are the shutter speeds at different focal length what you prefer for sharp shots. Sometimes for artistic reasons, not the perfect sharpness is the target rather some kind of blur, which gives a flavor for the photo. Here we use smaller shutter speed. Longer shutter speeds (more seconds) are also used like in landscape or astro photography(even several hours) but here a good tripod is a must.
ISO – Photography for beginners
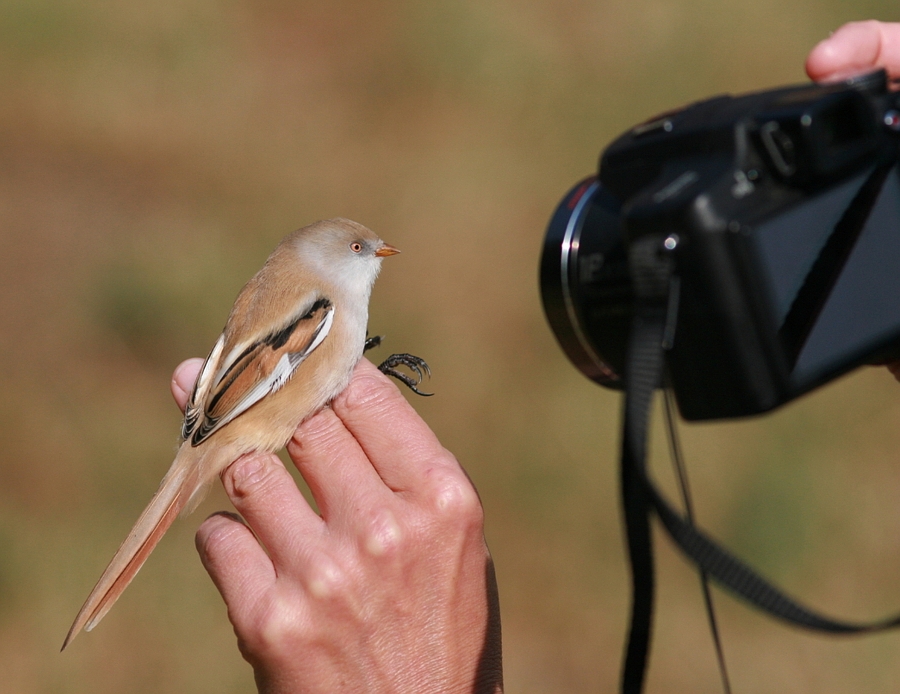
ISO is similar thing like ASA in film. ISO is simply light sensitivity. The usual range for ISO is between 100 and 6400. Some higher end cameras can go further than that (204,000 or 409,000), or little lower 50. The smallest ISO is the base ISO the quality is here the best. On most Dslr cameras ISO sensitivites above ISO 10,000 are really ugly. Red dots, banding, grain appear. On most compact cameras above ISO 400. This is the main area where the Dslr is better. Some MILC cameras has Dslr like quality. So what is ISO good for? In dark situations without a tripod, we end up blurred images. Here is where ISO can help. If we double ISO value also doubles shutter speed. For example we want to make a photo at ISO100 in low light the camera shows 1/2s, which will result in blurred images. At ISO200 we have 1/4s, ISO400 1/8s, ISO800 1/16s, ISO1600 1/30s which is perhaps ok with wide angle lenses, or ISO3200 where the shutter speed is 1/60s. Another use of ISO if we want higher speed to freeze action. See the pic below.

Exposure – Photography for beginners
To simplify this exposure is about brightness. How bright is our photo. It depends on two factors, the shutter speed and the aperture. If we make a longer shot the image will be brighter, if we make a shorter shot the image will be darker. If we use the camera at the default setting, the image will be as bright in average as a 18% grey card. This is good for an average scene. If we want to make a brighter or darker image we use exposure compensation. There is a button on the camera with a +- square sign, or in the menu, when we touch the button or press the menu item, a scale appear with +-direction. If we use + compensation the image will be brighter, if we use -sign it will be darker. It is important to set back the setting after we make a photo, because we don’t know how the next photo will be. If we walking in the forest it will be good for the next image as well, but if we turn from the beach to a wood or residential area the setting wouldn’t be good.
Some scene are different than this, for example if there is nothing but snow on the picture the picture will be much brighter the 18% grey, in this case we use + exposure compensation to make the picture brighter to resemble more what we see. If we walking for example in the dark forest, then what we see is much darker, than 18% grey, here we use – exposure compensation.
Learn Dslr photography basicsAlmost everything covered here what you need after bought your first Dsrl camera. Understanding apertureShutter speed in photographyUnderstanding iso a key issue to use your camera at it’s full potentialSelecting modes, which modes to use ?Aperture priority modeShutter priority modeProgram modeManual modeHow to get the desired look for your imagesHow to get a desired look for your images? Framing the pictureDslr camera controlsBeginner tutorial about Dslr camera lensesBeginner tutorial about Dslr camera lenses Photography termsIt is possible to learn lots of things from that. Black and white photography tips |
Camera histogramsYou can learn form here what is the camera histogram, and how to use it How to ruin a photo ?If you successful about not ruining your photo actually you make a good one. BokehLandscape photography tipsA thorough overview about how to make beautiful landscapes, explanation of filters, and equipment as well. Wedding photography tipsHow to make photos on a wedding, equipments used. Creative photographyCreative photography ideas Photography tips for beginners
|