Night photography tips
Night photography tips
This is a basic first lesson, a more detailed one is planned with more samples.
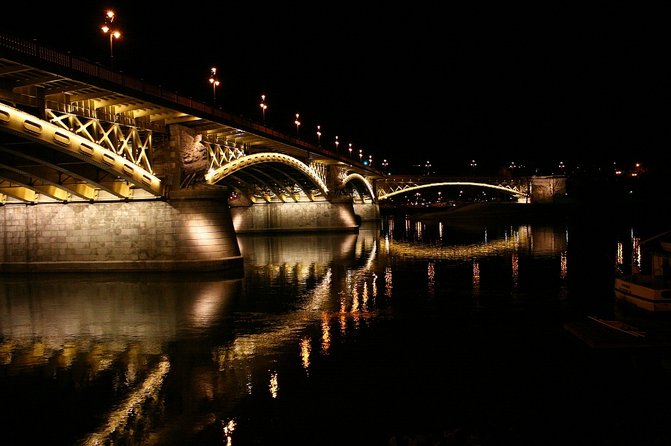
Night photography can be very special for several reasons. First if we speak about the city photography not many people or vehicle on the streets and roads as daytime, and second interestingly things can look even better than daytime. Other very interesting adventure is to find a solitary place where we can take photos of the sky.
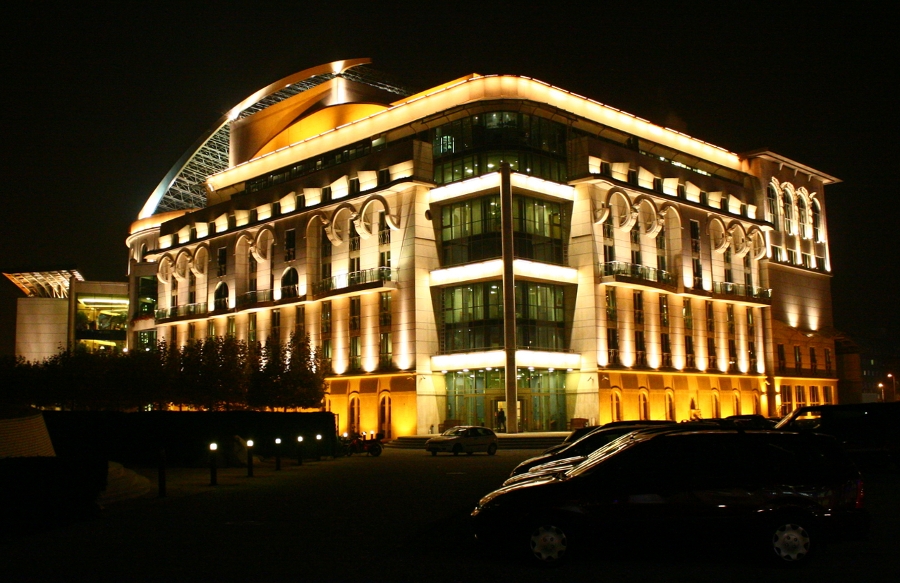
Night photography can cover different things, I mostly think about a city by night with its lights, and second Astro photography about Stars and the Sky.
Obviously something bright is needed on the picture, it is no sense to make a picture of a totally black scene. What makes these pictures really interesting is the increased contrast compare to daylight shots.
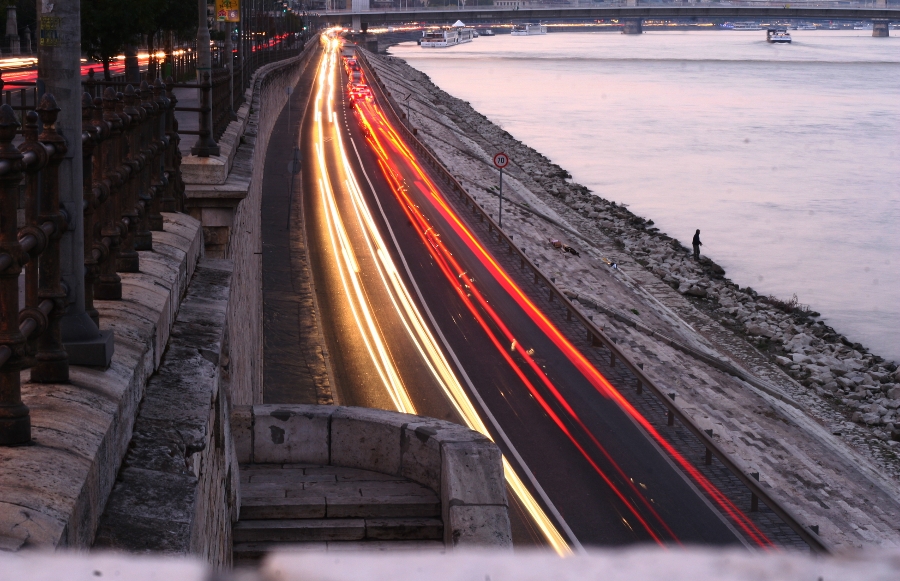
If we place ourselves over high traffic roads we can make interesting pictures of light rays of the vehicles with long exposures. If our camera only allows 30s, usually in Manual mode there is a Bulb setting when we can have as long exposure as long we push the shutter. Other possible option to switch to higher iso, like iso 200, or 400. Some remote release is useful instead of pushing the shutter. Some experiment with metering is perhaps needed.
Sky photography
Sky photography is very interesting. Obviously we need clear weather to see the stars. Some forground object is preferred it is upon our creativity what we can put there in front of the sky. A tall object like a huge tree or rock is better than a flat one usually (we want to point the camera upwards, more light and the stars are there), unless we have a huge space. With a nice company and some food or drink at a solitary place where we can have some fun.
There are two types of shots I think. The First type of shots you use the sky as a background, the second type is a detailed images of stars, planets, etc.
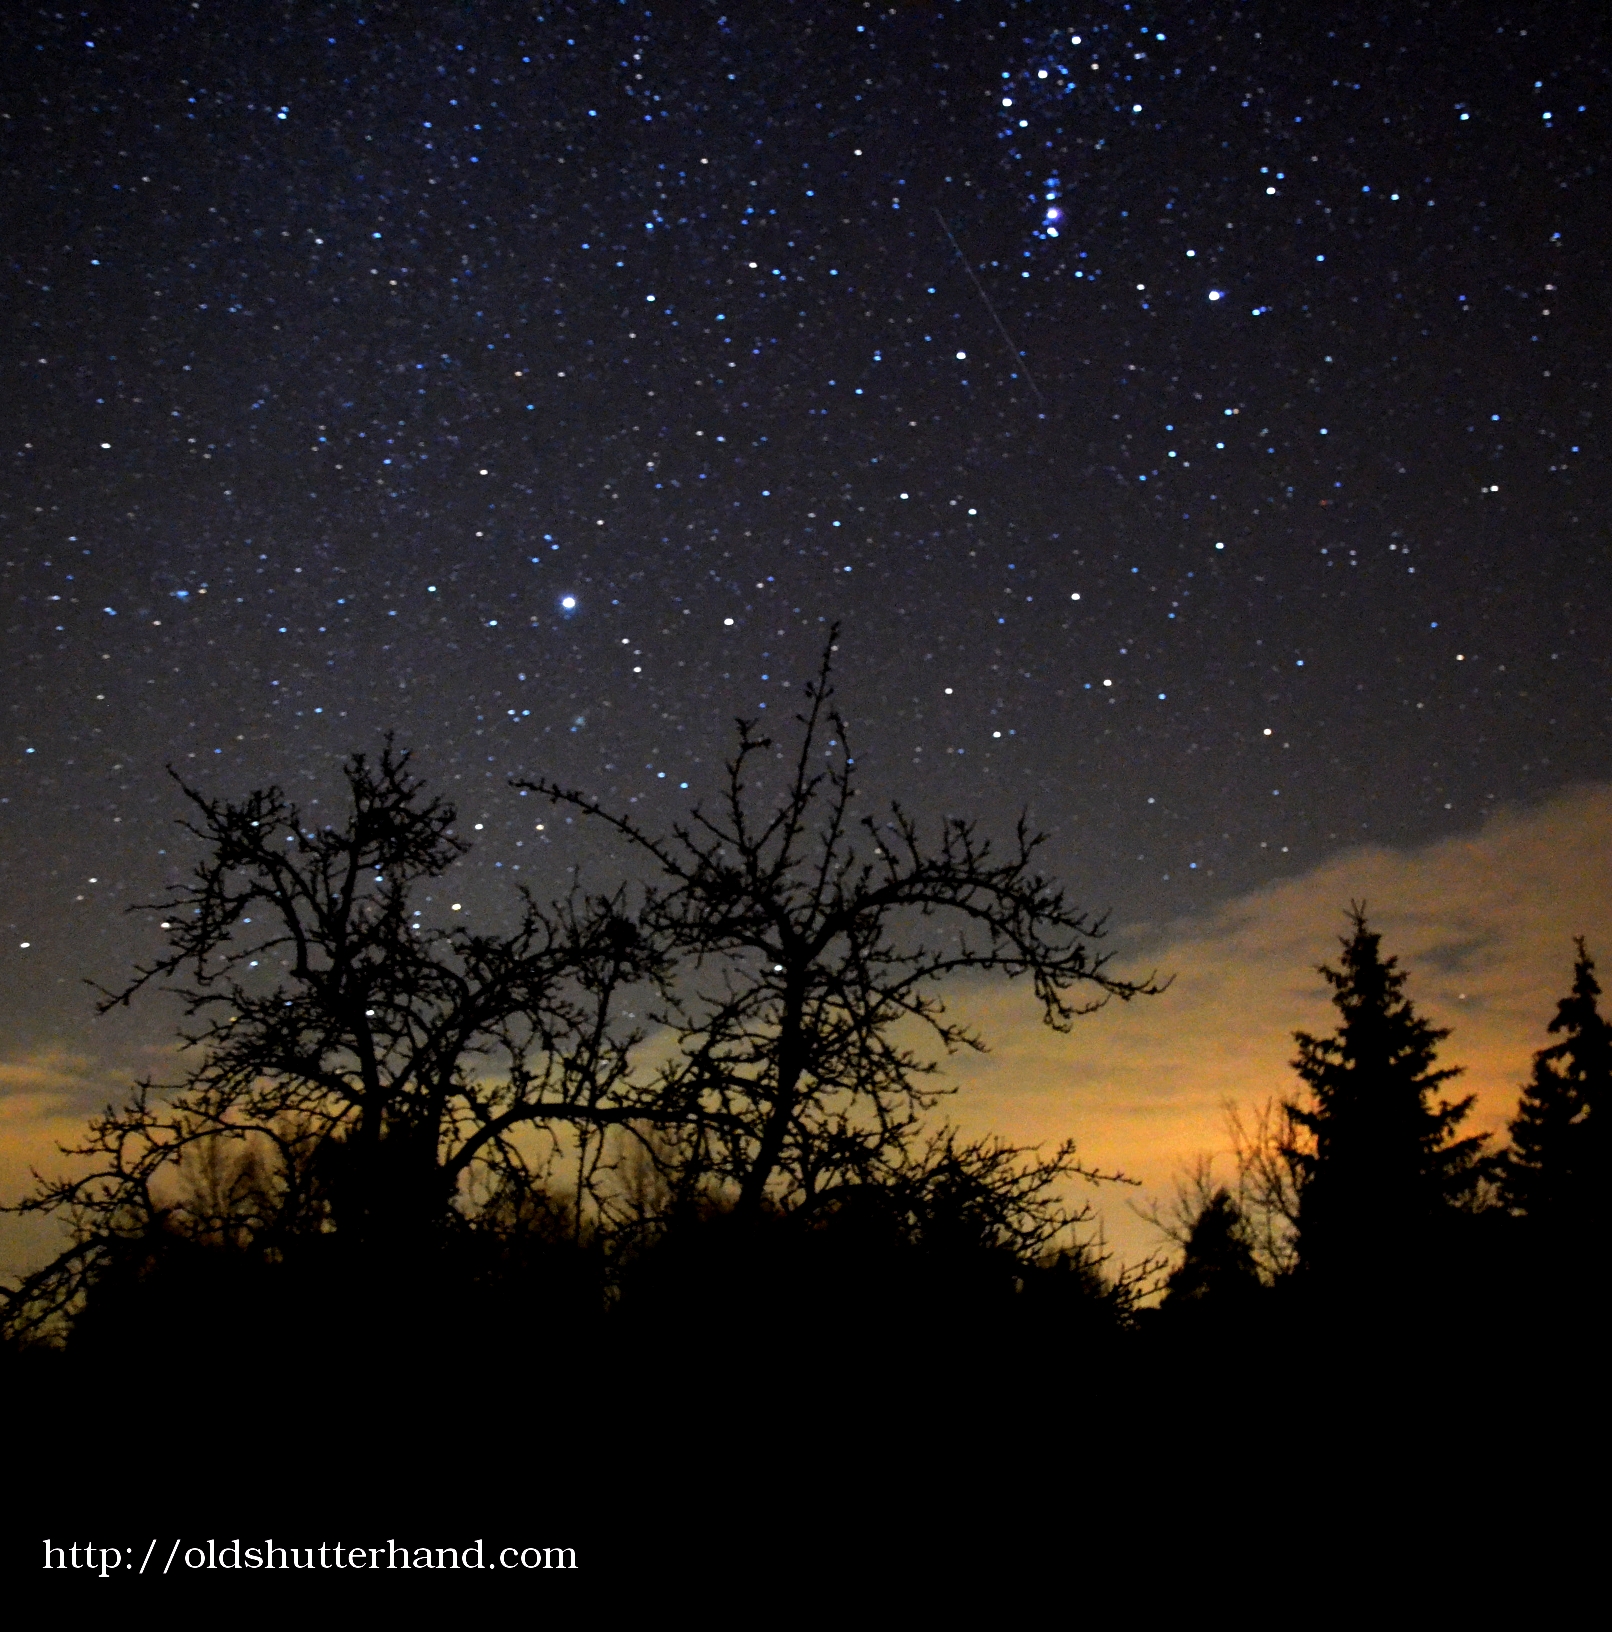
Images with sky as a background
This images like the one above. How to take such an image. First you need a tripod (or some kind of support) and a Dslr camera preferably. You can start at ISO 6400 and 30s as a basic image at f/3.5 (most kit lenses doesn’t open more). If you use more than 30sec the stars will be blurred unless you have a special equipment listed below.
Detailed images of stars
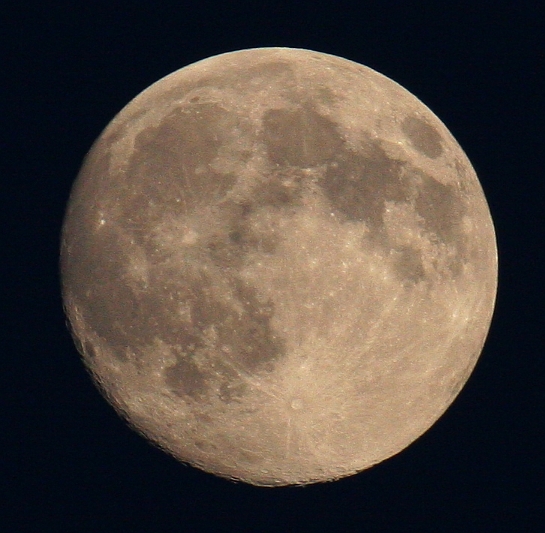
For making detailed images of the stars, telephoto lenses or some kind of telescopes needed. This one was made at 400mm focal length at a Aps-C camera. With a wide angle lens we won’t see any detail of the star, obviously most cases it is the Moon, which is the closest. A tripod is a must.
Camera settings
For city landscapes to keep the dynamic range as high as possible, I like to use iso 100 for night photography most of the time, with long shutter speeds. With older Canon cameras actually ISO 200 setting is better because the camera has better dynamic range here.
For sky photography if we don’t have a special equipment which follow stars movement, the highest shutter speed of 30s allowed. To achieve this in a clear sky you need ISO 6400 and 30s around f/3.5. Some cameras don’t go as high as ISO 6400, can try ISO 3200 underexposed by 1 stop, or ISO 1600 underexposed by 2 stops and try to regain this in post processing. Some cameras are as good to gain 5 stops at ISO 200. Raw files the best to do this.
Technique
The exposure compensation is very important to make the pictures we want. In short version the camera makes a picture at certain brightness level, but in night we usually need different brightness.
The problem is that we can measure usually on the bright subjects, which makes images underexposed, or on a dark object, which makes the image too bright, but other than that there are usually huge light level differences on the scene, which makes metering difficult. HDR is also an option to keep the maximum amount of detail.
I suggest to use Matrix / Evaluative metering.
What we can do make a picture at the default setting first, after play with exposure compensation until we have a desired look. If the lights are blown out/too bright we use negative exposure compensation. A good idea to meter at the same place for the images, in order to quickly find out the desired level of compensation. Same thing for sky or stars photography.
Equipment needed
One very useful equipment is the tripod for night photography. The best value tripods are the Induro and Manfrotto models at least where I live. The tripod helps to not blur the images in low iso settings, which otherwise would not be possible.
If you cannot afford a tripod don’t bother, you can place the camera on a structure as well.
Two requirement is important for the camera: to have a possibility of long exposures (several seconds), and exposure compensation available (making picture darker or lighter).
Cameras
The very dark night scenes gives a big challenge to the best Dslr or mirrorless cameras even at base ISO settings.
Special equipments to follow start movement
We can by special equipments to follow stars movement, unfortunately these equipments are not cheap. The benefit that we can use low iso settings and longer than 30s seconds shutter speeds which results in better quality images. Astrotrac manufactures such equipments.
Star trails
We can also make pictures of star trails. This means we make pictures all night with long shutter speed to make a complete circular picture. We need a tripod, lots of time and patience and we merge the results in post processing. Here there is no 30s limit in fact we want the stars to move. Some foreground object (rock, hill or tree) at a little more light environment is also preferred (we can make the pics of the foreground at dawn or at dusk when there is more light out there).