Playing with the background
Playing with the background
There are some tricks regarding the background for certain types of pictures. For close-up or macro shots using wide aperture or telephoto lenses we can make the background blurred. But some cases the background is not so nice, the colors and shapes are not preferred to our picture. Let’s see the example below.

At the above picture the foreground is quite busy and not fit to the natural look. Even the electric pole is not the best, but if only the electric pole would be there the situation would be significantly better. Some purple fringing makes the picture even worse around the wires. Of course in post processing it is possible to repaint the ugly parts of the image, but now we concentrate in other technique.
1. Artificial background.
First this word “artificial” looks and feels ugly, but not need to make to much worrying about it, as it will be in the blurred background part of the photo. In some cases we have a chance either make a photo we don’t like (we can’t move the flower for example and the background is not nice) or use artificial background which can be very nice. If you think award winning wildlife photographers don’t use this technique you wrong. Many award winning photos made with lots of artificial elements. Perhaps in most cases we don’t want people recognize the artificial background quickly or not recognize at all. For example we want to make a flower photo. We use cartoon paper as a background. We can use natural colors, like brown, yellow, green, blue what we prefer. An other interesting option is the black and white colors which allows us to make even more tricks. (for example blow out some parts of the photo or make it black by over or underexposing).
Or we can use interesting looking patterns or background pictures or other things as well, for example carpet, pictures, wood, stone or other things.
We place the background little further, and we place the main object as close as we can possible do in order to make the background blurred. For this technique a bright at least f/1.8 lens is preferred or a telephoto (85mm or longer). We can try it with a normal 18-55mm kit lens as well at 55mm at the brightest usually f/5.6 aperture, the key to put the main subject as close as possible and the background little more far (1-2 meters).
2. Natural but artificially placed background.
Mainly I think about here branches with leaves for bird photography for example, but we can use water, reflecting water, fire or any other thing we can imagine. Of course it can be more job to make the setup, than a simple cartoon paper.
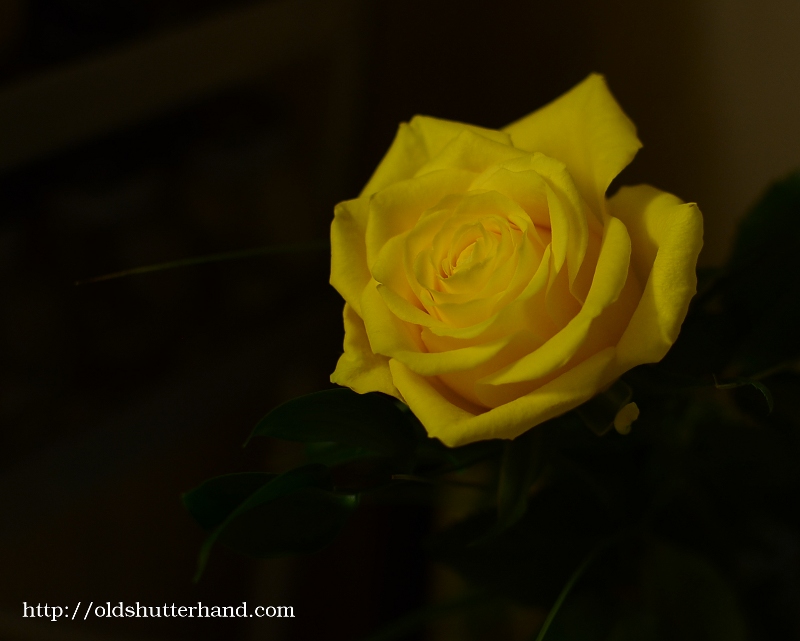
3. Over or underexposing
By using exposure compensation we can have even more creativity. By underexposing see the first picture we can throw the background more out of focus, or by overexposing make the background white in controlled situation. Some cases works outdoors as well but not all the time.
4. Artificial or modified natural light.
Light or flashes are extensively used for example in bird or wildlife photography. Not everybody using it, but some photographers using this technique.
Modified natural light is available in setups with white umbrellas or other reflecting surfaces.